Old School BMX: The Ideal Bike is the One You Build
When it comes to biking, one can’t overlook the role BMX has played for decades. The fact it appeared as the merge of biking, and motocross, just shows how great it is in the freedom it provides with biking and all the tricks and turns a biker can do, whether it’s conquering pavements and biking parks, or the bumpy rough terrains.

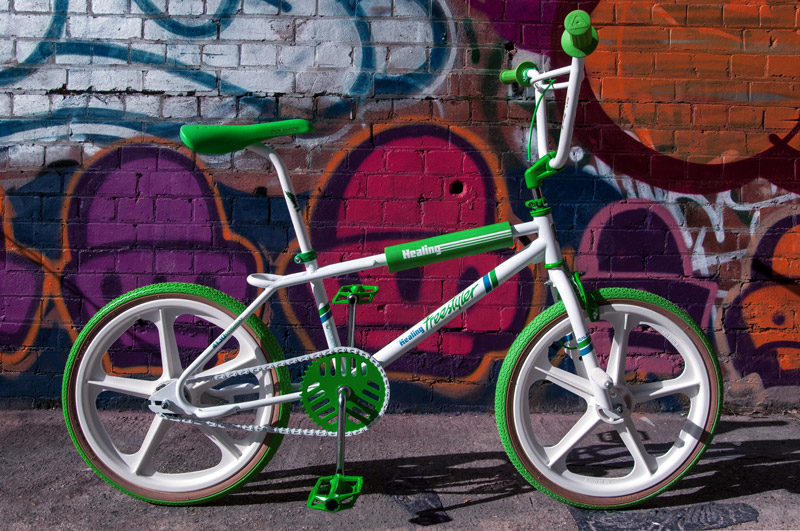
Why has BMX grown to be such a sensation in the biking world? For starters, it’s suitable for people of all generations, from kids to the elderly; there’s no age limit. You can’t deny whenever on the BMX bike, you feel young at heart – it happens to me at least. Having in mind most of us can boast about a BMX bike being their very first, the one they got to learn all the tricks with, it’s no surprise old school Bmx bikes for sale are still as popular as ever!
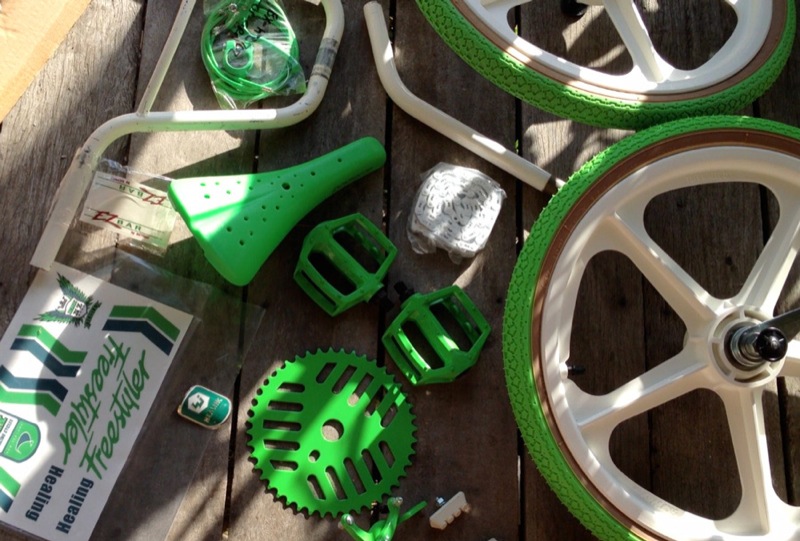
Though over the years, BMX bikes have undergone considerable changes, and old ones are considered a real treasure (costing as such too!), if you want to avoid breaking the bank, keeping things within your budget, you can look up parts of old school Bmx bikes for sale, and build up your own from scratch! With the right set of tools, as well as skills that aren’t difficult to master, you can make a great DIY project out of it.

Since specialised shops don’t lack the adequate frame kits, wheelsets, and brake pads, you can count on success without wasting too much of your time trying to find them. You can begin by going on the quest for those pieces, and equipping yourself with a much-needed hammer, as well as a piece of wood (yes, wood!).
Despite the changes, the frame remains somewhat the same, so the work still requires adding the bearing cups to the head tube, and crank housing, which is where the hammer and wood piece come in handy, when placing the cups, securing them properly. Moving on to the forks, you have to put one set of the bearings in them, connect them to the frame, then use the second set of bearings, and add the screws.
When it comes to the old bikes, it’s notable they only had a piece of cranks, unlike the latest models that go with three. Depending on the model you’re up to, you get to decide on the cranks you want to add. I have to mention the differences in the seat as well, with the old one known for the hard plastic.
If you go for the old, remember it takes some extra effort with cutting the plastic at the part of the bracket bolts so as to fit the wench in, then insert the seat post. As for the wheels, the front one only requires sliding it in and tightening it, whereas the rear has to have its rear sprocket secured with the chain.
The final touch goes to attaching the brake lever to the handlebars, then the brake calipers above the rear wheel; with old models it takes attaching the vise grips to the nut, and tightening them well. When all this is finished, you can pride yourself on your work, taking your baby for a spin.


