Keep It Down: Sound Proof Insulation Tips to Stop the Noise in Your 4WD
When fantasising about hitting the less-travelled roads with a 4WD, nobody imagines doing so to the soundtrack of a whole lot of roaring, whirring, clunking, tapping and other types of car noise. Unfortunately, powerful machines make a lot of sounds, so those of you who want a 100% enjoyable experience should consider upgrading their ride with sound proof insulation.

Sound deadening is a worthwhile upgrade as it treats different sources of noise produced by the vehicle and dampens it, providing soundproofing benefits and even improved heat insulation. It’s a quick and easy modification as long as you know what kind of products for sound proof insulation to invest in.
The Most Commonly Used Sound Deadening Products
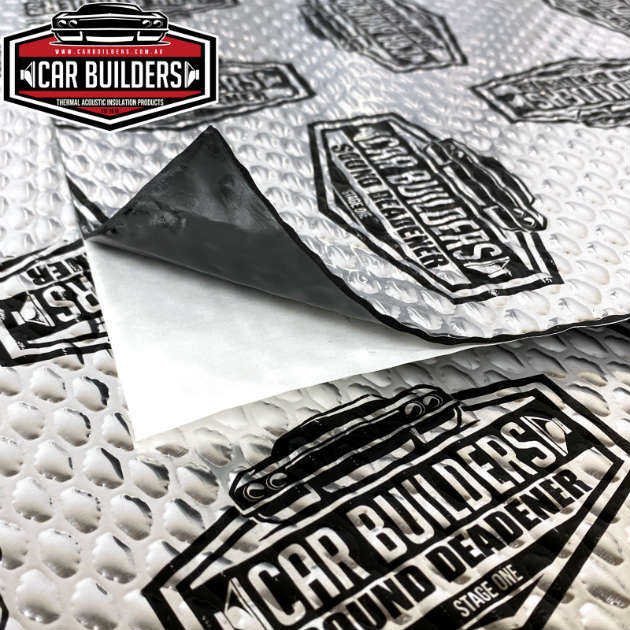
A vibration dampening mat is an easy and cheap investment for stopping sound reverberating through the metallic surface of the vehicle. To pick a good vibration dampening mat, look for one that has butyl rubber as a lower layer which is self-adhesive, and aluminium as a top layer. It’s ideal for vertical and inverted applications as there is no risk of the adhesive layer to breaking down.
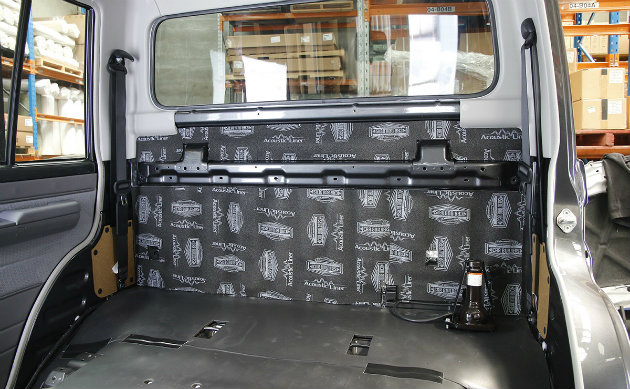
For better results in sound proof insulation, you can go further and choose from a wide range of dampening foams that you can place under the mat. A sound dampening car foam is basically an acoustic panel made of polyether and polyester or extruded melamine which reduces the amplitude of sound waves by increasing air resistance. It can also completely replace your carpet and bring you many additional advantages.
As a product with double layers, it has an open-cell moist filtering foam and close cell foam on the top which prevents water or any other liquids from being soaked in. This can make for a cleaner car interior. This kind of foam can also provide better heat insulation and make a big difference between a sweaty ride and a cool ride.
Some 4×4 owners prefer a mass noise liner to help block the unwanted noise. Featuring a closed-cell lower layer and a vinyl upper layer, a mass noise liner is a heavyweight barrier ideal to for the most effective acoustic blocking.
Easy Steps to Sound Deaden Your 4WD
To ensure 100% sound deadening, different insulation materials need to be incorporated into the rear panels, rear doors, roof, rear cargo floor, front doors and the front floor. The whole process can be better described in the following steps.
Step 1
Start with removing all the trim pieces and accessories that are in your trunk. The trim panels are usually held only by screws, and you’d probably require some basic trim removal tools to make this job done.
Step 2
To get down to the metal you’ll need to take off the existing carpet and get rid of the real wheel cover which is in most cases just a piece of vinyl.
Step 3
There are huge chances of finding unwanted material under your carpet, however, leave that aside, and vacuum the floor surface the best you can. The cleaner the surface, the better the sound deadener will stick.
Step 4
After removing the debris, you need to use a grease remover to wipe down the surface clearly in order to make sure there is no wax coating. This way, the deadener can stick better.
Step 5
Before you can start applying the car sound proofing material, you need a serious plan on where exactly the starter point should be for the best results. Your aim is to use a maximum of the material and avoid losses, as it’ll be necessary for you to cut it down into pieces. The most challenging are the wheel arches, and once you master them, everything else will be much easier.
Step 6
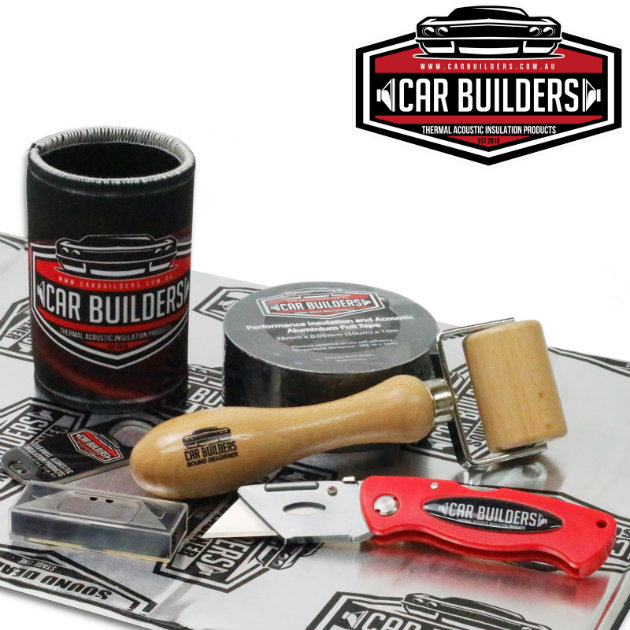
After you figured out your layouts and cut them down, it’s time to apply the sound dampening product. But before applying it make sure the surface is clean. Remove the protective layer and start from the bottom up. Then, apply the product on the surface and use a roller to put some pressure on it for smoothing it out and ensuring good contact.
Use the roller for challenging angles and difficult ridges and contours to push the material in, so it can stand there for an extended period of time. Gently massage and get rid of possible air bubbles to bring a smooth finish to it.
Step 7
As a final step, after you’ve covered all the surfaces, you’ll need to do a finishing trimming and cut down the irregular or unwanted parts if any and bring your trims on.
As you can see, making your 4WD sound proof is a task that you can easily do yourself. If you don’t have the time, you can also hire the help of an in-car specialist. In any case, the outcome will be mind-blowing. Take it for a test drive, and you won’t believe how much quieter your 4WD is.


