Ideal Art Tools: Using Professional Coloured Pencils
Do you have a talent for drawing and your dream is to become an artist? Have you been looking for the right art supplies that would help you express your creativity? If you’ve been having a lot of questions about colouring pencils, you’re at the right spot. This article will try to clear up some things for you.
In the past, coloured pencils were used for checking and marking. There isn’t exact information on when they were created, but it wasn’t until the 20th century that they became officially a tool used to create art. And today, coloured pencils are considered to be a wonderful art medium that allows you to express all kinds of ideas in a more vivid way. They aren’t only meant for kids in elementary school, but for anyone, even the most talented artists.
Source:Archfoundation
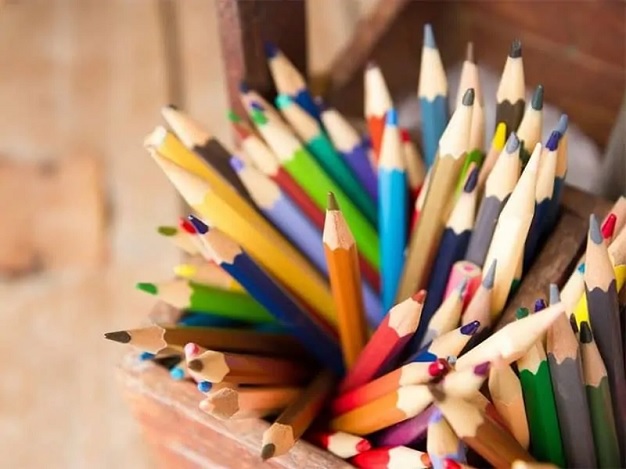
Most coloured pencils have a cylindrical, wooden case, and contain a narrow, pigmented core. There are coloured pencils that don’t have wood encasings. If you want to start using professional artist coloured pencils to create amazing artworks here are some things you should know first.
Types of Coloured Pencils
Wax-based
Wax-based coloured pencils have a wax binder to keep together the pigment inside the core. The most popular ones are the Crayola coloured pencils that children love. However, wax-based colour pencils are popular for artists as well. In fact, a hard lead wax-based coloured pencil is quite a common tool among artists.
Most professionals use wax-based pencils with higher quality that have a softer lead (higher ratio of pigment to binder). These pencils are much easier to blend compared to oil-based coloured pencils. You can easily layer with them because they lay less colour.
Since they lay down less colour, they’re also easier to lift the pigment off the paper. These pencils make more debris than the oil ones, so you’d need to bush more often throughout the drawing process. These pencils may create a white, thick glaze over your artwork (wax bloom). This is especially common with quality wax-based coloured pencils.
Source:Pinterest
Oil-based
These pro coloured pencils use vegetable-based oil binder to keep together the pigment inside the pencil’s core. Oil-based coloured pencils still have wax inside the core but have much higher oil content. These pencils have harder lead core than wax and thanks to this, they are less likely to break. These pencils are also resistant to water.
Oil-based coloured pencils don’t blend as easy as wax-based do. However, they create much less debris while drawing and don’t show any bloom. If you go with these pencils, seek them at special art supply stores, since they can be more difficult to find in regular stores. Also, these professional artist coloured pencils are more expensive.
How to Store Them
Once you purchase the colour pencils that work for you, throw away the original box since you’ll need to take them out constantly. This increases the risk of damaging the lead and you may end up breaking them. Try separating your pencils by colour and hold them together with a rubber band. Avoid dropping them and make sure to be careful about the lead tips.
Source:Bestcoloredpencils
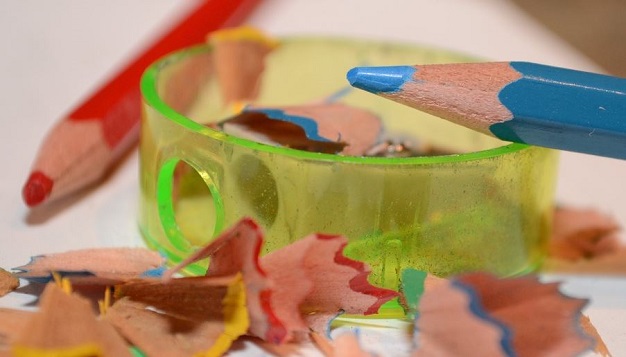
Sharpening
Once you open the new box of coloured pencils, make sure to sharpen them well. Keeping them sharpened is important for achieving the desired results. Sharp lead points penetrate the colour into the tooth of the paper far better than a pencil with a dull point. Drawing with dull colour pencils would not be as effective since the colour won’t be able to deliver into the tooth’s pockets.
Of course, you may put more pressure when you notice the pigment isn’t transferring onto the paper. But, this may result in excessive colour on the paper so you might not be able to control the desired outcome when layering. Speaking of paper…
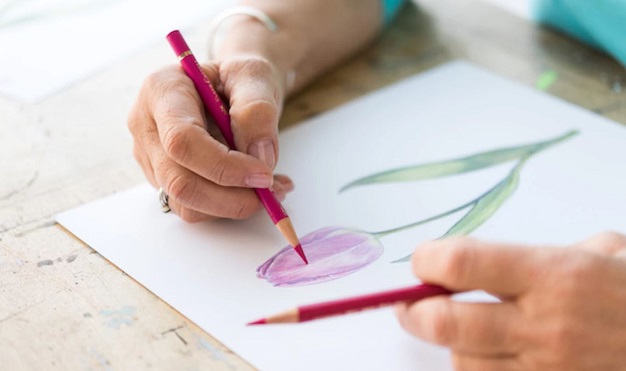
What Paper to Use
When choosing the paper to use with your artist colour pencils, select one that has some tooth to it. This will allow the coloured pencil pigment to grip on to the surface better. If you chose a smooth paper, you might not be able to properly layer your colours. On the other hand, go with a paper that’s too rough and you won’t be able to portray details.
Stonehenge paper is a great option because it is 100% cotton and has enough tooth. It’s affordable and comes in different colours and sizes so you can create different types of artwork. Bristol paper with vellum surface is also a great option. Some artists prefer using illustration boards since they are very strong and can endure the pressures of shining or solvent blending.
Source:Craftsy
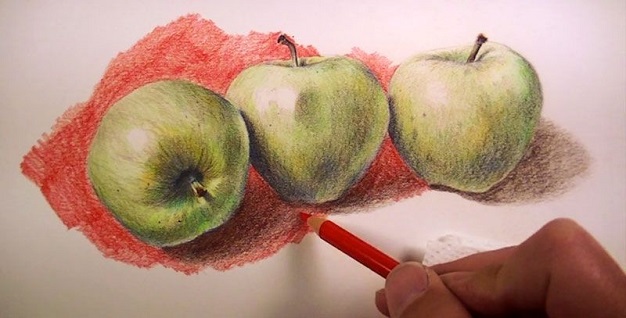
Colouring Techniques
There are various techniques for drawing and colouring with such pencils. These techniques can give different results when it comes to coverage of pigments.
Colouring techniques include back and forth strokes, cross-hatching, hatching, stippling, or scumbling. But feel free to create your own techniques. You can work from light to dark tones since lighter colours aren’t as obvious as the dark ones. It would be a lot more challenging to fix darker colours than the light ones. Be aware of the pressure as well – the stronger it is, the more intense the colour will be. This is why it’s a good idea to start with the lighter colours.
Highlights
Outline any highlights on the artwork before you start the colouring process so you can avoid applying darker colours in this space. You can even delete the colours or highlights (depending on the paper you are using). You can create highlights by using a white coloured pencil.
Shading
Avoid using black and use a darker hue of the colour instead when shading. The black colour can end up looking too strong and may make the other colours of your artwork to look a bit off.
About Author
valentina